Basic configuration of Rewrite and Responder on Citrix ADC

You can use the URL Rewrite feature to accomplish tasks such as directing users to the full StoreFront path if they do not specify it internally. You could also rewrite HTTP requests to HTTPS or rewrite headers in a TCP packet.
For example:
- User enters https://storefront.citrixpro.co.uk in to the address bar.
- NetScaler rewrites the URL to append /Citrix/StoreWeb/ to the URL which directs users to Receiver for Web.
This is just one way you can use URL Rewrite.
To see how to set Receiver for Web as the default web page in IIS see this post.
Using Responder, we can also direct users to different websites on the fly, or respond with a maintenance page for example. One of the main differences between Rewrite and Responder is that Rewrite can apply to both requests and responses whilst Responder can only apply to requests reaching the NetScaler.
Rewrite:
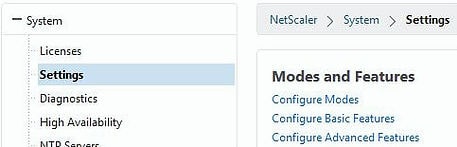
Enable the URL Rewrite feature by navigating to Configuration -> System -> Settings -> Configure Basic Features.
Note: Rewrite and Responder comes with Standard, Enterprise and Platinum editions of NetScaler.
Tick Rewrite and click OK.
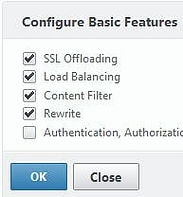
CLI command = enable ns feature rewrite.
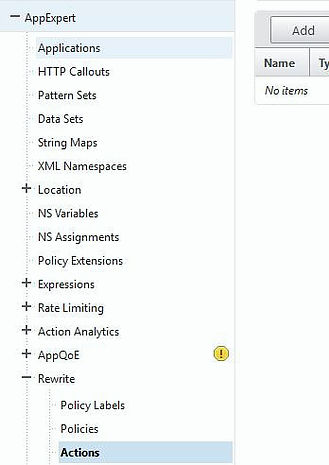
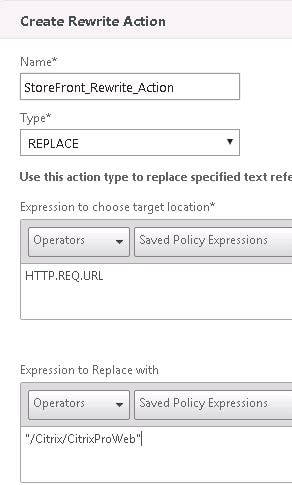
To create a rewrite action navigate to AppExpert -> Rewrite -> Actions -> Add.
- Enter a name.
- Type = REPLACE
- Expression to choose target location = HTTP.REQ.URL
- Expression to Replace with = “/ReceiverforWeb/Address“
- Click Create.
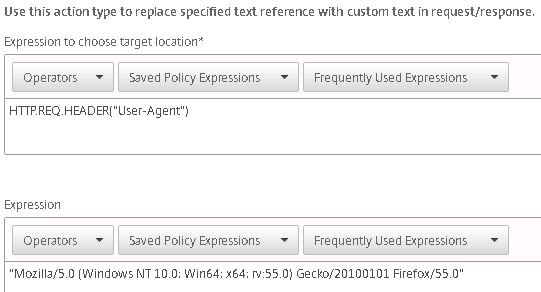
Note: If you wanted to rewrite the value of the User-Agent header for example, you could configure your Rewrite action as below. You would then create a Rewrite policy which matches on the User-Agent header value that you would like to replace with the User-Agent header value below.
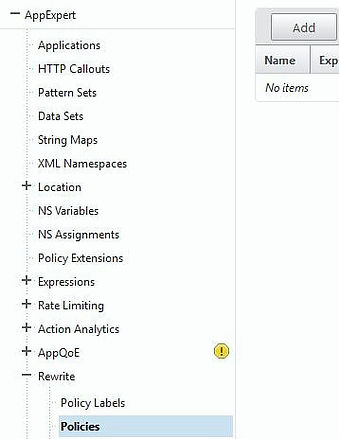
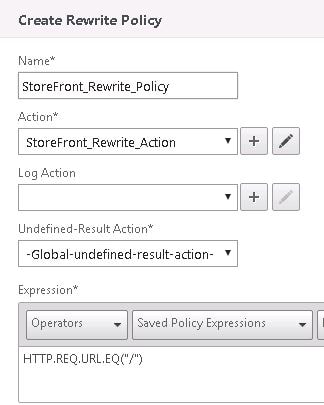
Navigate to AppExpert -> Rewrite -> Policies -> Add.
- Enter a name.
- Action = Action you created.
- Expession = HTTP.REQ.URL.EQ(“/”)
- Click Create.
Navigate to Traffic Management -> Load Balancing -> Virtual Servers and edit your existing Load Balanced StoreFront vServer.

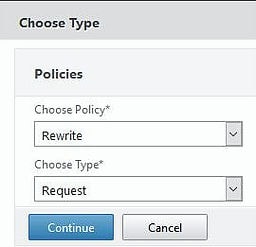
Under Policies click Add.

- Choose Policy = Rewrite.
- Choose Type = Request.
- Continue.
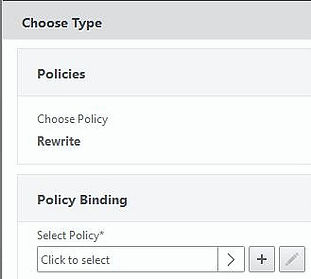
Click Click to select under Select Policy.

Select the Rewrite Policy and click Bind.

Click Done to finish editing the vServer.

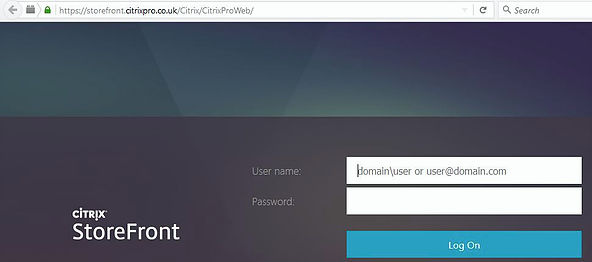
Now when a user types https://storefront.citrixpro.co.uk in to a web browser the /Citrix/CitrixProWeb/ portion is automatically added and users are redirected to Receiver for Web.

Back viewing your Rewrite Policy you can see the Hits counter has gone up.
Responder:
You can use Responder to accomplish tasks such as transferring users from one URL to another.
In this example, I have a web site load balanced through NetScaler on protocol HTTP (port 80). The URL to access the site is http://mywebapp.citrixpro.co.uk/. I want to use a Responder policy to direct users to a new version of the web site which is available on URL http://mywebappnew.citrixpro.co.uk/. These web servers are just basic default IIS installs showing the main IIS splash screen.
http://mywebapp.citrixpro.co.uk/ and http://mywebappnew.citrixpro.co.uk/ run on two different virtual machines.
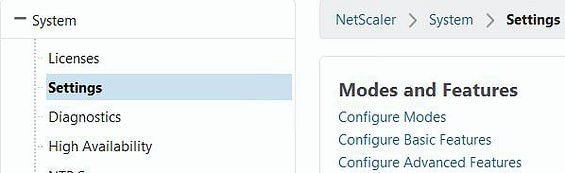
To enable Responder navigate to Configuration -> System -> Settings -> Configure Advanced Features.
Tick Responder -> OK.

CLI command = enable ns feature responder.
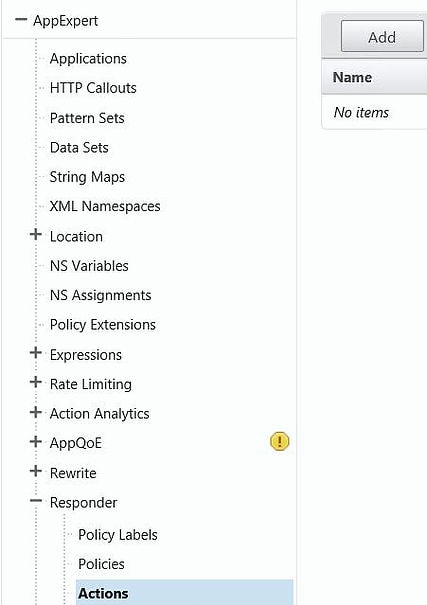
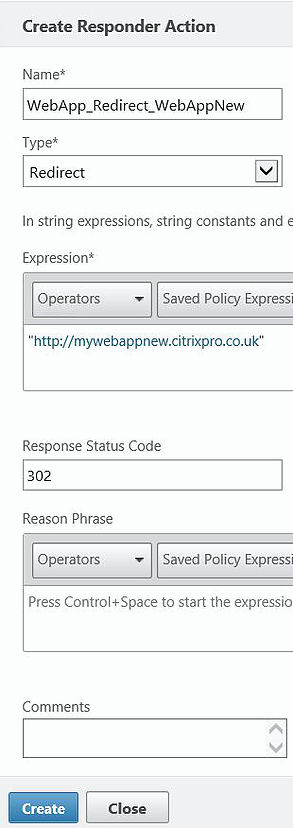
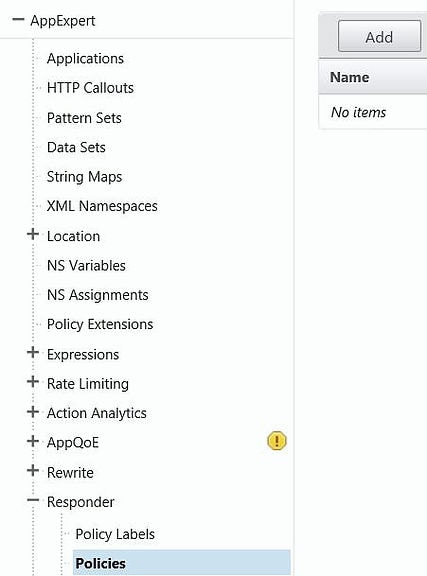
To create a Responder action navigate to AppExpert -> Responder -> Actions -> Add.
- Enter a name.
- Type = Redirect.
- Expression = “http://mywebappnew.citrixpro.co.uk“
- Click Create.
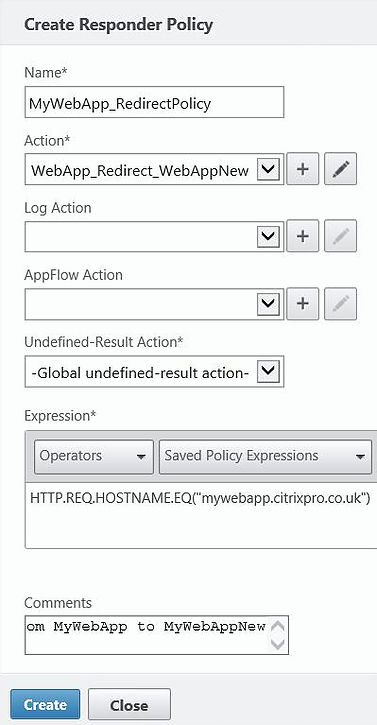
Navigate to AppExpert -> Responder -> Policies -> Add.
- Enter a name.
- Action = Responder action you just created.
- Expression = HTTP.REQ.HOSTNAME.EQ(“mywebapp.citrixpro.co.uk”)
- Click Create.

Now let me show you what happens when I browse to http://mywebapp.citrixpro.co.uk/. I hit the Load Balanced vServer VIP and am then directed to a server which is actually one of my StoreFront servers.

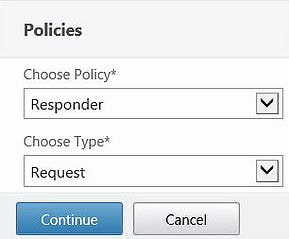
Back on the NetScaler, navigate to Traffic Management -> Load Balancing -> Virtual Servers and edit the web server vServer.

Click on Add under Policies.
- Choose Policy = Responder.
- Choose Type = Request.
- Click Continue.
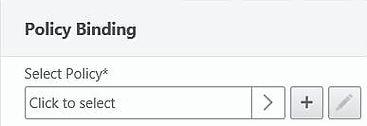
Click Click to select under Select Policy.
Select the Responder policy. Click Bind.


Click Done.

Now upon navigating to http://mywebapp.citrixpro.co.uk/ you will be redirected to the new web address.

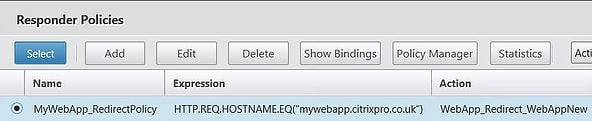
If you view the Responder policy you can see it has been hit a couple of times.
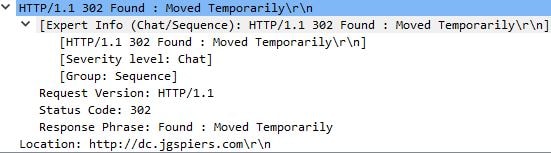
Here is an example WireShark trace (taken from a different redirect) showing the 302 Found: Moved Temporarily packet including the new location that NetScaler is directing the client to.
Responder to redirect HTTP to HTTPS (NetScaler Gateway):
Let me show you how to direct HTTP requests to HTTPS when users are connecting to NetScaler Gateway. We can use both Content Switching and Load Balanced vServers with the Responder policy attached.
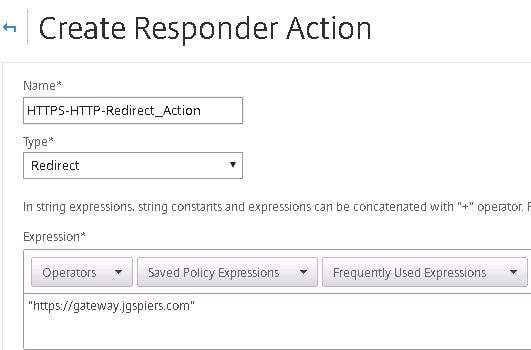
Create a Responder action:
Type = Redirect
Expression: “https://netscalergatewayurl.domain.com”
By default this will perform a standard 302 redirect, meaning the page has moved temporarily. This ensures the browser does not cache the page. You can change the redirect code to 301 for example to tell web browsers that this is a permanent move.
Create a Responder policy:
Action = Action we have just created.
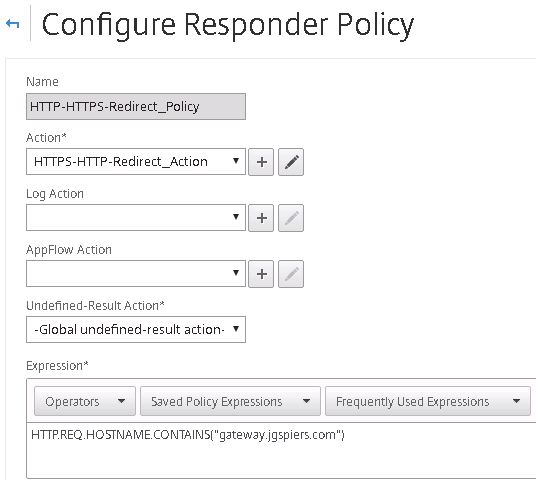
Expression = HTTP.REQ.HOSTNAME.CONTAINS(“netscalergatewayurl.domain.com”)
Now create a Content Switching Virtual Server:
Protocol = HTTP
IP Address = IP address of the NetScaler Gateway vServer (VIP)
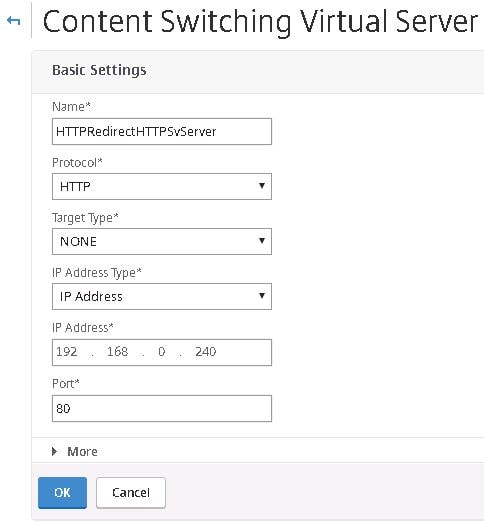
Port = 80

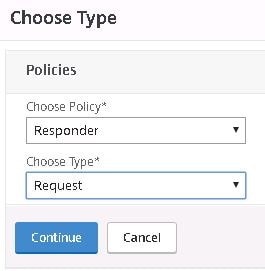
Click to add a policy.
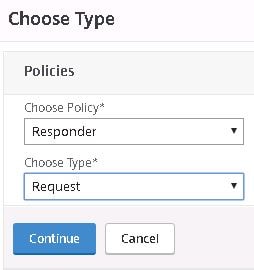
Choose Responder under Choose Policy and Request under Choose Type.
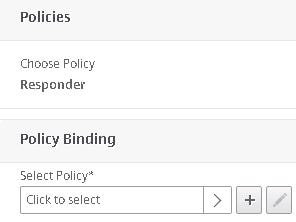
Click on Click to select.
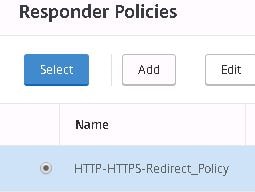
Click the radio button beside the Responder Policy you have just created and click Select.
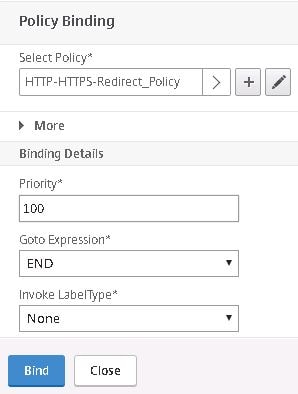
Click Bind. Now when users type http://netscalergatewayurl.domain.com they will be directed to the HTTPS URL.
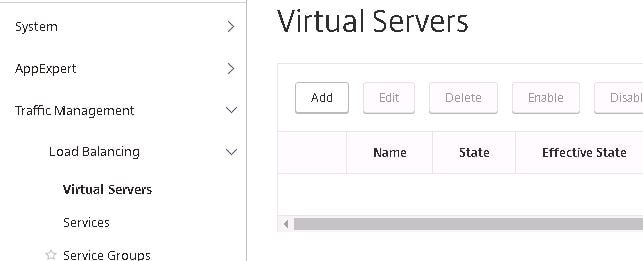
To achieve the same result this time with a Load Balanced vServer instead of a Content Switching vServer, navigate to Traffic Management -> Virtual Servers -> Add.
Protocol = HTTP.
IP Address = Same IP as NetScaler Gateway VIP.
Port = 80.
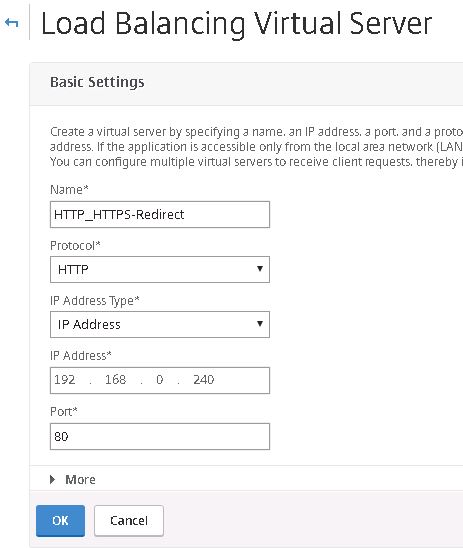
Click OK.

Click to add a service.

Click on Click to select.
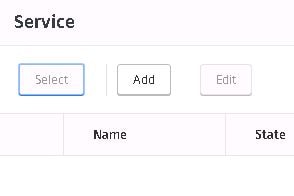
Click Add.
IP = A dummy IP that doesn’t represent any backend server.
Protocol = HTTP.
Port = 80.
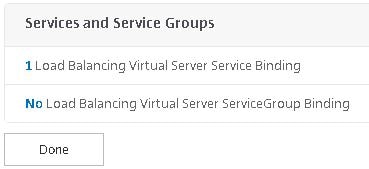
Untick Health Monitoring so that this service is marked as up.
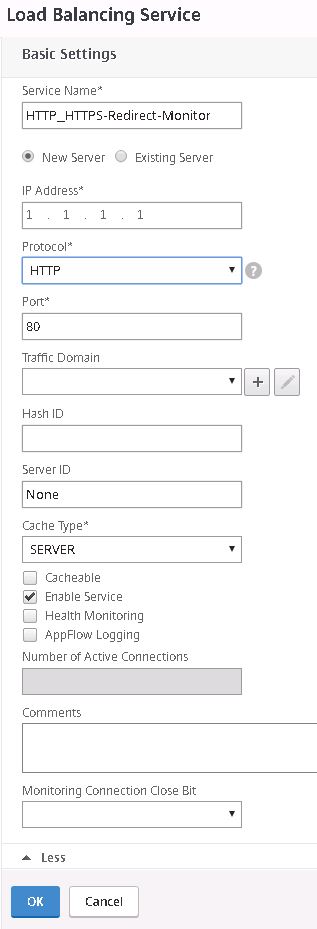
Click OK.
Click Done.

Click Select.
Click Bind.

Click Continue.
Click Done.
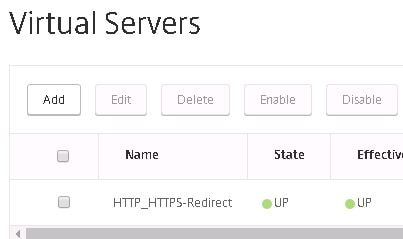
As you can see now, the Virtual Server is up. This is a requirement since clients are going to need to connect to something on port 80 originally before being redirected.
The last step is to bind the Responder policy to the Load Balanced vServer.
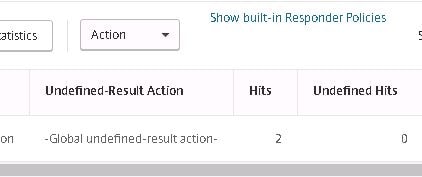
Once done, client will be redirected to HTTPS and the Responder policy hits counter will increase.